







Repair technique is mostly a decision about sequence: diagnose before you disassemble, measure before you replace, and fix the cause before you fix the symptom. The parts that fail on a car — a tire losing pressure, a brake pedal going soft, an engine throwing a code — are almost always reporting a condition upstream of themselves, and the technique that separates a repair from a parts swap is the one that pins the condition down first. Everything below is the working logic behind that: what you measure, in what order, what each method costs you in time and money, and when a given technique is the wrong call.
Diagnosis comes before disassembly, and the order is not negotiable
Read the fault before you touch a fastener. On any modern car the first tool is a scan tool that reads stored and pending codes plus freeze-frame data, because a code set at a specific load and temperature tells you where in the operating range the fault lives. A misfire code that only sets at idle points at vacuum leaks and injector balance; the same code under load points at ignition and fuel delivery. Pulling the intake apart before you have that distinction costs you gaskets and an afternoon and often leaves the fault in place.
The second step is a visual and physical inspection done in a fixed order — fluid levels and condition, belt and hose routing, obvious chafing, connector seating, then a check for the specific system. This is cheap and it catches the embarrassing fraction of faults that are a disconnected sensor or a cracked vacuum line. Only after that do you move to measurement: fuel pressure, compression, vacuum, voltage drop across a ground. Each measurement should be chosen to split the remaining possibilities roughly in half. A technician who measures to confirm a guess rather than to eliminate a hypothesis will chase the same fault three times.
The cost of this discipline is time up front and, sometimes, the price of a tool you use once. The cost of skipping it is the core failure mode of amateur repair: replacing the most expensive plausible part first, then the next one, until the fault disappears by accident and you never learn what it was. That habit is expensive on any car and ruinous on a European model where a single sensor can run into the hundreds.
The limit of code-based diagnosis is that the ECU only reports what its sensors can see. A mechanical fault — a worn bearing, a stretched timing chain, a clogged pickup — can sit entirely outside the sensor set and never set a code until it has done damage. When the data looks clean and the symptom is real, stop trusting the scan tool and start measuring mechanically.
Tire pressure and the placard: the reference point for every tire decision
Set tire inflation pressure to the number on the vehicle placard, not the number molded on the tire sidewall. NHTSA says tire inflation pressure is measured in pounds per square inch (psi) and is listed on the vehicle's tire information placard or in the owner's manual. The placard is the label required on light vehicles under FMVSS No. 110, and it shows the recommended inflation pressure and the tire size designation — the manufacturer's recommended tire size for that vehicle. The sidewall figure is a maximum for the tire, not a recommendation for your car, and inflating to it will make the car ride harshly, wear the center of the tread, and reduce the contact patch.
Check pressure cold, meaning before the car has been driven more than a short distance, because driving heats the air and raises the reading. Use a decent gauge rather than the one on a coin-operated airline, which is often out by enough to matter. Check monthly and before any long trip, and check the spare — a space-saver that has sat at half pressure for two years is the most common reason a roadside tire change turns into a tow.
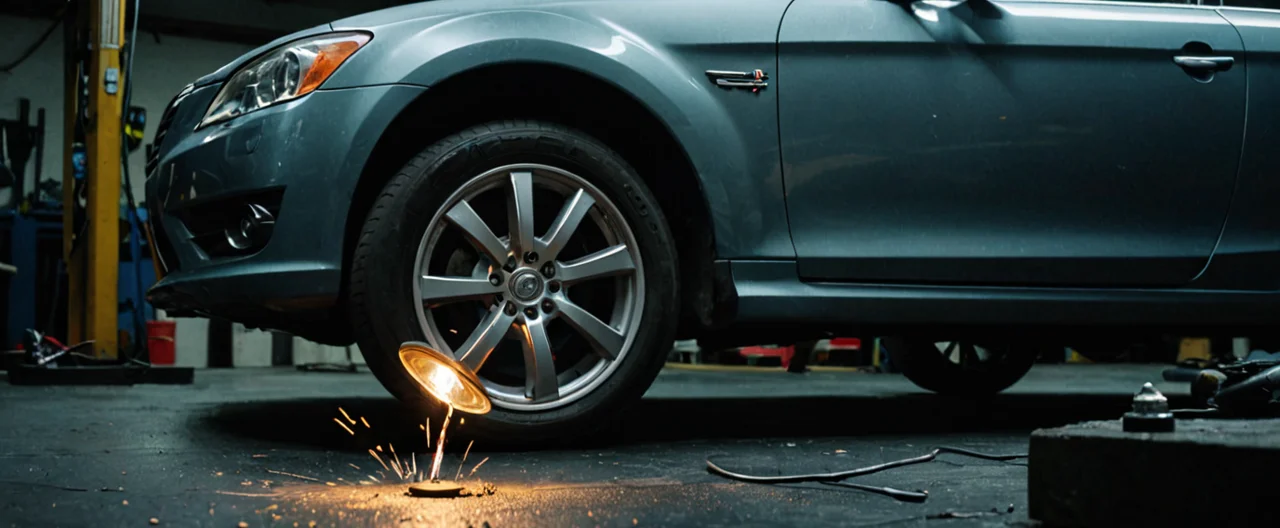
When a tire is losing pressure repeatedly, the technique is to find the leak rather than to keep topping it up. A spray bottle of soapy water on the valve stem, the bead seat, and the tread will show bubbles at the source. A nail in the tread center is a plug-or-patch candidate; a sidewall puncture or a leak at the bead on a corroded alloy wheel is not, and no amount of sealant fixes a cracked sidewall. The placard also settles the replacement question: fit the size designation shown there, because the ABS and stability systems were calibrated around that rolling circumference.
Brakes: measurement, not feel, decides what gets replaced
Measure pad thickness and rotor thickness with a gauge, then compare against the minimum stamped on the rotor or given in the service data. Brake work is the clearest case in car repair where feel is a liar: a pedal that seems fine can sit over pads at the wear indicator, and a pedal that feels soft is usually air or a failing hose, not worn pads. Replace pads in axle sets, and resurface or replace rotors to spec rather than to eyeball — a rotor below minimum thickness will overheat and warp, and no amount of bedding-in fixes that.
Bleeding order matters and follows the hydraulic layout, typically starting at the wheel farthest from the master cylinder. On a car with ABS, pushing the old fluid back up the lines during a pad change can force debris into the modulator; open the bleed screw when you compress the piston instead, or use a pressure bleeder from the reservoir. Flush brake fluid on the interval in the service schedule, because brake fluid absorbs moisture from the air and wet fluid boils at a lower temperature — the failure shows up as a pedal that goes long after a few hard stops from speed.
The trade-off with brakes is that doing the job properly costs more than doing it cheaply, and the difference is invisible until it matters. Cheap pads and unresurfaced rotors will stop the car in normal driving. They will also be noisier, dust more, and fade earlier on a long descent. If the car is a daily driver that never sees a mountain pass, the budget job is defensible; if it tows or carries a full load regularly, it is not.
Fluids and filters: the interval is a floor, not a target
Change fluids on the schedule in the owner's manual and shorten it for hard service — short trips, extreme heat or cold, towing, dust. Oil is the obvious one, but the same logic applies to coolant, transmission fluid, brake fluid, and differential oil, and the transmission is where neglect is most expensive: a fluid and filter service is a routine cost, a rebuilt transmission is not. Use the specification the manufacturer calls for rather than a universal fluid, because modern automatic transmissions are sensitive to friction modifier packages and the wrong fluid changes shift quality.
Filters are cheap and the technique is simple, but the sequence matters. Change the oil filter with the oil, not between changes. On a cartridge filter, check that the old O-ring came out with the cap and that the new one is seated, because a doubled O-ring is a guaranteed leak. On an air filter, clean the housing before fitting the new element so debris does not get drawn in. On a cabin filter, note the airflow arrow — fitting it backward is common and quietly reduces the flow.
Coolant deserves its own caution. Mixing coolant types can gel the system, and on an engine with an aluminum head, running plain water or the wrong chemistry accelerates corrosion. Flush with the correct procedure for the car, which on many modern engines means a vacuum fill to avoid trapped air pockets that cause hot spots. The limit of interval-based servicing is that it assumes normal use; a car that does mostly short trips in cold weather accumulates moisture in the oil and needs more frequent changes than the book says.
Fasteners, torque, and the parts of the job nobody photographs
Torque fasteners to the figure in the service data, in the sequence given, and use a torque wrench rather than feel — especially on cylinder heads, suspension components, and anything clamping a gasket. Torque-to-yield bolts stretch when tightened and must be replaced rather than reused, which is why head bolts and many suspension bolts are single-use. Reusing them is one of the most common causes of a repeat failure that looks like a parts-quality problem.
Cleanliness is a technique, not an aesthetic. Clean the mating surfaces before fitting a gasket, chase threads, and keep dirt out of fuel and hydraulic systems. Use the right thread locker or anti-seize where the manufacturer specifies it, and nowhere else — anti-seize on a torque-critical fastener changes the clamp load for a given torque reading and can cause it to come loose or strip. Replace single-use fasteners, crush washers, and clips as a matter of course; reusing a crush washer on a drain plug is how oil pans get stripped.
The trade-off here is time. Cleaning, chasing threads, and torquing in sequence can double the book time on a job, and a shop working flat-rate has an incentive to skip it. That is exactly why a careful home mechanic can sometimes beat a rushed professional on reliability even with less experience. The limit is tooling: without a torque wrench, a thread chaser, and the correct sockets, the discipline is hard to apply, and improvising with an adjustable wrench on a critical fastener is how rounded bolts and stripped threads happen.
When to repair, when to replace, and when to stop
Repair the component when the cost of the repair is a small fraction of the cost of the assembly, and replace the assembly when the failure is internal, wear-related, and the surrounding parts are near end of life. A wheel bearing, an alternator, a starter, a brake caliper, and a water pump are all replace-don't-rebuild items for a home mechanic: the rebuild kit and the machining usually cost more than a remanufactured unit, and the reliability of a professional rebuild is better than a first attempt. A cylinder head, a transmission, and a differential are different — the core is expensive enough that a rebuild or a used unit is worth considering, but only with a firm diagnosis and a quote in hand.
Set a stopping rule before you start. If a diagnostic step reveals a fault that puts the repair beyond your tools, your space, or your risk tolerance — a cracked block, a damaged wiring harness, a frame issue — stop and pay for the diagnosis to be confirmed by a professional rather than continuing to spend on guesses. The most expensive repair is the one that keeps going because the owner has already spent money on it.
Weigh the car, not just the job. A repair that costs a meaningful fraction of the vehicle's value is worth doing only if the rest of the car is sound and you intend to keep it. Rust, a tired transmission, and a history of deferred maintenance change the arithmetic: putting a new timing belt and water pump on an engine with low compression is money into a hole. The honest technique is to inspect the whole car before committing to a major repair, and to walk away when the inspection says the repair is the first of many.
Finally, know what a repair is worth on resale. Documented maintenance with receipts supports the price; a folder of mystery parts does not. Keep the records, note the mileage and date on each, and photograph the work where it is visible. That habit costs almost nothing and is the difference between a car that sells on its history and one that sells on its paint.
Reading a tire's condition as a diagnostic, not just a wear check
Wear patterns tell you which fault to chase before you spend on an alignment or a new set of tires. Center-of-tread wear points at sustained overinflation — the tire has been run above the placard pressure. Wear on both shoulders points at underinflation. A single worn edge points at camber or toe, and a feathered tread where one side of each rib is sharp and the other rounded points at toe. Toe is cheap to correct; camber usually is not, and a car with a worn inner edge on one front tire may have a bent strut rather than an adjustment problem.
Cupping — scalloped dips around the tread — is a suspension fault, not a tire fault, and a new tire fitted without finding the worn shock or the loose tie rod will cup the same way. Sidewall cracking and flat-spotting from long storage are age and use problems that no inflation figure fixes. The placard pressure is the baseline every one of these readings is judged against, so check cold with a real gauge before you draw any conclusion from the tread.
Why a leak that keeps coming back is a technique problem
A tire that loses pressure after a repair usually has a second leak, not a failed patch. The common sequence is a nail in the tread center that gets plugged while a slow leak at the valve stem or the bead seat goes unfound; the tire keeps dropping and the plug gets blamed. Soapy water on the valve core, the stem base, both bead seats, and the tread — with the wheel off the car and inflated — finds all of them at once. A corroded alloy bead is a wheel problem, and the honest fix is a reseal or a different wheel rather than more sealant.
The limit is the sidewall. A puncture there, or any crack in the sidewall, is not a repair candidate regardless of what a sealant claims, because the sidewall flexes and a plug there will not hold. That is the point at which the placard's size designation earns its keep: match the replacement to it so the ABS and stability calibration stays valid.