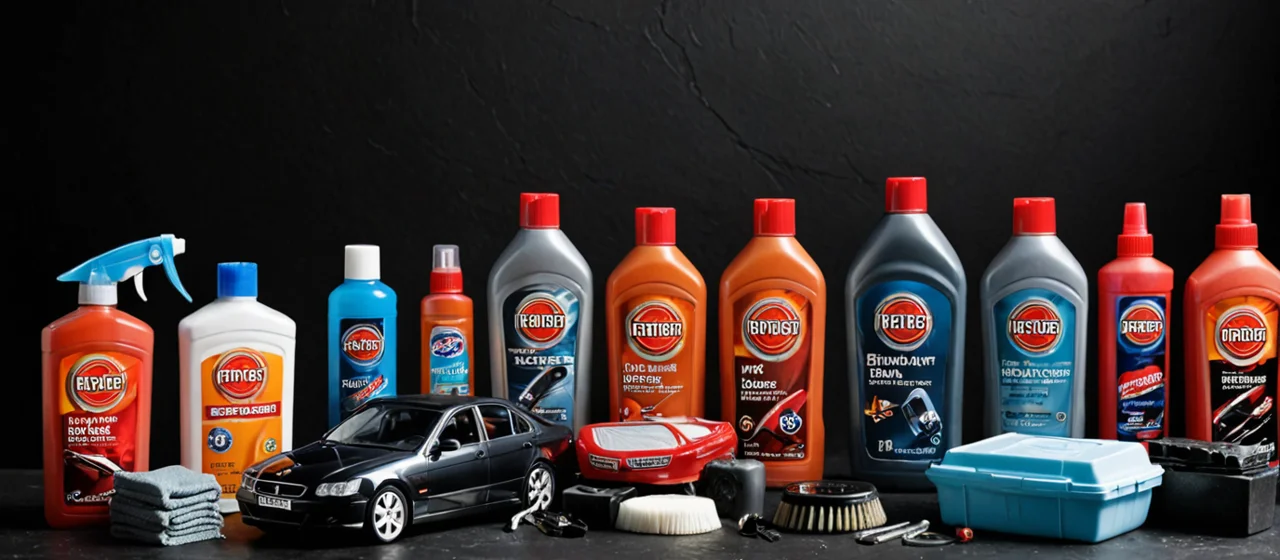
A car care kit is not a box of products — it is a sequence. The order you clean in, what you clean with, and which jobs you refuse to do yourself determine whether the paint and interior survive a decade of ownership, and most kits fail not because they lack a bottle of something but because the owner bought the wrong tier of tool first and the right one never. The three decisions that actually matter are: how you wash (touch vs. touchless), what chemistry you put on paint and plastic, and which jobs you hand to a shop. Everything else is preference.
What belongs in a first kit, and what is a waste of money
Buy the two-bucket setup, a grit guard, a proper wash mitt, and a pH-neutral car shampoo before you buy a single wax, sealant, or ceramic coating. The reason is mechanical: most swirl marks in paint come from dragging dirt across the surface during the wash, not from the environment. Two buckets — one with soap, one with clean rinse water — let you flush the mitt between panels so grit settles to the bottom instead of going back onto the paint. A grit guard at the bottom of the rinse bucket keeps that sediment from being picked up again. A chenille or microfiber wash mitt lifts dirt into the pile; a sponge or a brush drags it.
The chemistry that belongs in a starter kit is small: a pH-neutral shampoo, an iron and tar remover, a clay bar or clay mitt, an all-purpose cleaner diluted to the manufacturer's ratio, and a tire dressing. Everything else — spray waxes, quick detailers, waterless washes — is a convenience product you add once the basics are habits. Waterless wash is genuinely useful for a lightly dusty car in a garage; it is the wrong tool for a car that has driven through road salt, because you are wiping abrasive residue across the paint with a cloth.
What to skip on the first pass: a rotary polisher, a full correction kit, and any product marketed as "ceramic" in a spray bottle. A rotary polisher will burn through clear coat in the hands of someone who has never used one, and the paint damage is permanent. A dual-action polisher is the safer machine for a beginner, but it is a second-purchase item after you have learned to wash without marring. Spray "ceramic" products are a real category — they leave a silica-rich layer that beads water for weeks — but they are not a substitute for a coating, and they do not correct anything.
The cost of getting this order right is modest; the cost of getting it wrong is a paint correction bill at a detail shop. That is the trade-off. A first kit built around wash discipline costs less than a machine polisher and a pad set, and it protects the finish instead of risking it.
Tire pressure: the one measurement you should check weekly
Check tire pressure against the vehicle placard, not against the number molded on the tire sidewall. The placard — the label required on light vehicles under FMVSS No. 110 — lists the manufacturer's recommended inflation pressure for that specific vehicle, and the tire's own sidewall number is a maximum, not a target. NHTSA specifies that tire inflation pressure is measured in pounds per square inch (psi), and the placard or the owner's manual is where the correct psi for your car lives. The same placard carries the tire size designation, which is the size the manufacturer recommends for the vehicle.
Pressure matters to a car care kit because it is the single check that prevents the most expensive failure. Underinflation generates heat in the sidewall, wears the shoulders of the tread, and costs fuel; overinflation wears the center and reduces grip. Both are invisible from the driver's seat until the tire is visibly wrong. A tire pressure gauge — a decent dial or digital one, not the pencil gauge at the gas station that has been dropped a thousand times — belongs in the glovebox, and the check belongs in the weekly routine after the car has sat for a few hours, because tires read high when hot.
Do not trust a tire pressure monitoring system as your only check. TPMS warns you when pressure has already dropped meaningfully; it does not tell you the tire is a few psi low, which is the range where wear and fuel economy are already affected. The placard psi is the target, and the gauge is the instrument. This is one of the few jobs where the DIY version is strictly better than paying someone: it takes a minute, it costs nothing after the gauge, and no shop will check it as often as you should.
Washing and decontaminating paint: the sequence
Wash in this order: wheels and tires first, then the body from the top down, then the lower panels and rocker panels last, with a separate mitt or towel for the dirtiest areas. Wheels first is not a stylistic choice — brake dust and road grime from the wheels will contaminate your wash water and your mitt if you do the body first. Keep a dedicated wheel brush and a dedicated wash mitt, and never let the wheel mitt touch paint. The lower third of the car, behind the wheels and along the rockers, collects the most grit; a separate towel for that zone keeps it off the rest of the car.
After washing and drying, the next step is chemical decontamination: an iron remover on the paint, which turns purple as it dissolves ferrous particles embedded in the clear coat, followed by a tar remover on the lower panels. Then mechanical decontamination — a clay bar or clay mitt lubricated with detail spray — pulls the remaining bonded contaminants out. You can feel the difference with your hand: before claying, the paint feels rough like sandpaper; after, it feels slick. Claying is not something you do every wash. It removes a microscopic layer of clear coat each time, so it belongs once or twice a year, or when the paint tells you it needs it.
Skip the clay and the iron remover and you will seal contamination under your wax or coating. That is the failure mode: the protection looks fine for a few weeks, then fails early and unevenly, and the only fix is to strip it and start over. The cost of the decontamination step is an extra hour and a bottle of iron remover; the cost of skipping it is redoing the whole job.
Drying is where many people undo the wash. A chamois or a bath towel drags; a plush microfiber drying towel, blotted rather than wiped, or a filtered-air dryer, lifts water without friction. Work panel by panel, and keep the towel off the ground.
Protection: wax, sealant, or coating — and what each costs you
Choose a spray sealant if you want protection you can apply in fifteen minutes and renew monthly; choose a paste wax if you enjoy the process and want a warm look on a garage-kept car; choose a ceramic coating if you want the longest interval between applications and are willing to do the prep properly. These are not the same product at different prices — they are different chemistries with different failure modes.
A spray sealant is a polymer product that bonds loosely to the surface and beads water for weeks. It is forgiving: apply it to a clean, dry panel, wipe it off before it flashes, and if you miss a spot you can fix it. A paste wax is a natural or synthetic wax in a solvent carrier; it looks good and is easy to apply evenly, but it does not last as long and it attracts dust. A ceramic coating is a silica-based liquid that cures into a hard, hydrophobic layer; it lasts far longer than either, but it requires a fully decontaminated, ideally polished surface, and it cures in a controlled environment. Apply a coating over contamination and it fails — and because it is bonded, removing it means polishing it off.
The trade-off is time versus risk. A coating is the lowest-maintenance option once it is on, but it is the highest-risk option to apply yourself, and the prep — wash, iron remover, clay, panel wipe, sometimes a machine polish — is most of the job. A spray sealant is the opposite: low risk, low durability, frequent renewal. For most owners of daily-driven cars, a spray sealant renewed monthly on a clean, decontaminated surface is the better value; the coating is worth it on a car you intend to keep and are willing to prep properly, or on a new car where you want the paint protected before it accumulates defects.
Whatever you choose, the protection step is only as good as the wash before it. A wax applied over a dirty car traps grit against the paint. That is why the sequence — wash, decontaminate, protect — is not a suggestion.
Interior and glass: the jobs people get wrong
Vacuum first, then clean surfaces, then condition, then do glass last. Vacuuming first removes the grit that turns into mud when you spray cleaner on it. Clean hard surfaces with an all-purpose cleaner diluted to the label ratio and a microfiber towel, and use a soft brush in vents and seams where towels cannot reach. Leather needs a pH-appropriate cleaner and, if it is coated leather — which most modern automotive leather is — a conditioner is largely cosmetic; the coating is the protection, and the cleaner is what maintains it.
Glass is the step most people rush and then blame on the glass. Use a dedicated glass cleaner and two towels: one to apply, one dry microfiber to buff. Do the inside of the windshield last, after the interior is clean, because interior cleaners and conditioners off-gas onto glass and leave a film that reappears as haze in sunlight. A glass cleaner with ammonia is fine on exterior glass and on most interior glass, but keep it off tinted films and off any plastic trim it can drip onto.
Skip the interior dressing on the dashboard if you care about glare. A high-shine protectant reflects sunlight into the windshield and makes the car harder to see out of at dusk. A matte finish is the safer choice, and it does not crack — the cracking people attribute to "dry" dashboards is usually UV degradation, which a UV-blocking product slows but does not reverse. The honest limit: no interior product stops dashboard cracking on a car parked outside in strong sun; a windshield shade does more.
Which jobs to hand to a shop, and when
Hand paint correction, coating application if you are not confident, and any job that requires lifting the car to a professional. Everything else — washing, decontaminating, protecting, interior cleaning, tire pressure, fluid checks, wiper replacement, bulb replacement — is within reach of an owner with a driveway and a few hours. The line is not about difficulty; it is about the cost of a mistake. A machine polish on a panel you have never polished can burn through clear coat, and that repair is a repaint. A coating applied without proper prep fails and has to be polished off. Those are the jobs where paying a detail shop is cheaper than learning on your own car.
What you should not hand off is the routine. Tire pressure, fluid levels, and a quick walkaround belong to you, because no shop sees the car often enough to catch a slow leak or a fluid that is dropping. The placard psi is the number to check against, the gauge is the tool, and the weekly habit is what prevents the failure. That is the part of a car care kit that costs nothing and does the most work.
A kit is finished when the sequence is a habit, not when the shelf is full. Wash in the right order, check pressure against the placard, decontaminate before you protect, and know which jobs you will not do yourself. The rest is product preference, and product preference is the cheapest part of the whole thing.